|
Six-inch Silver Maple
Tile/Trivet |
Back when I first started making Spoon Rests, I also made complementary Tiles/Trivets to go with them. These were flat pieces with embossed leaves - like the Spoon Rests - that could either be used flat to protect your table from a hot or damp dish or hung on the wall as a decoration. (As I've said for years, I grew up with a very rigid and controlling family; I'm still rebelling by being as versatile and flexible in my art as possible....) When I first started making these, since I had not yet taken a tile class and so had not learned how to make and use tile molds, I would work directly from a clay slab.
 |
Six-inch Eastern Redbud
Tile/Trivet |
Rolling out a half-inch-thick slab of clay on the slab roller, I would scrape the canvas texture away with the flat side of a metal kidney (sometimes following this up with a quick roll with my rolling pin), place a leaf (vein side down on the clay - this is very important) on the smooth surface and roll the leaf into it. Using my six-inch tile cutter, I'd cut around the leaf to make the tile/trivet.
 |
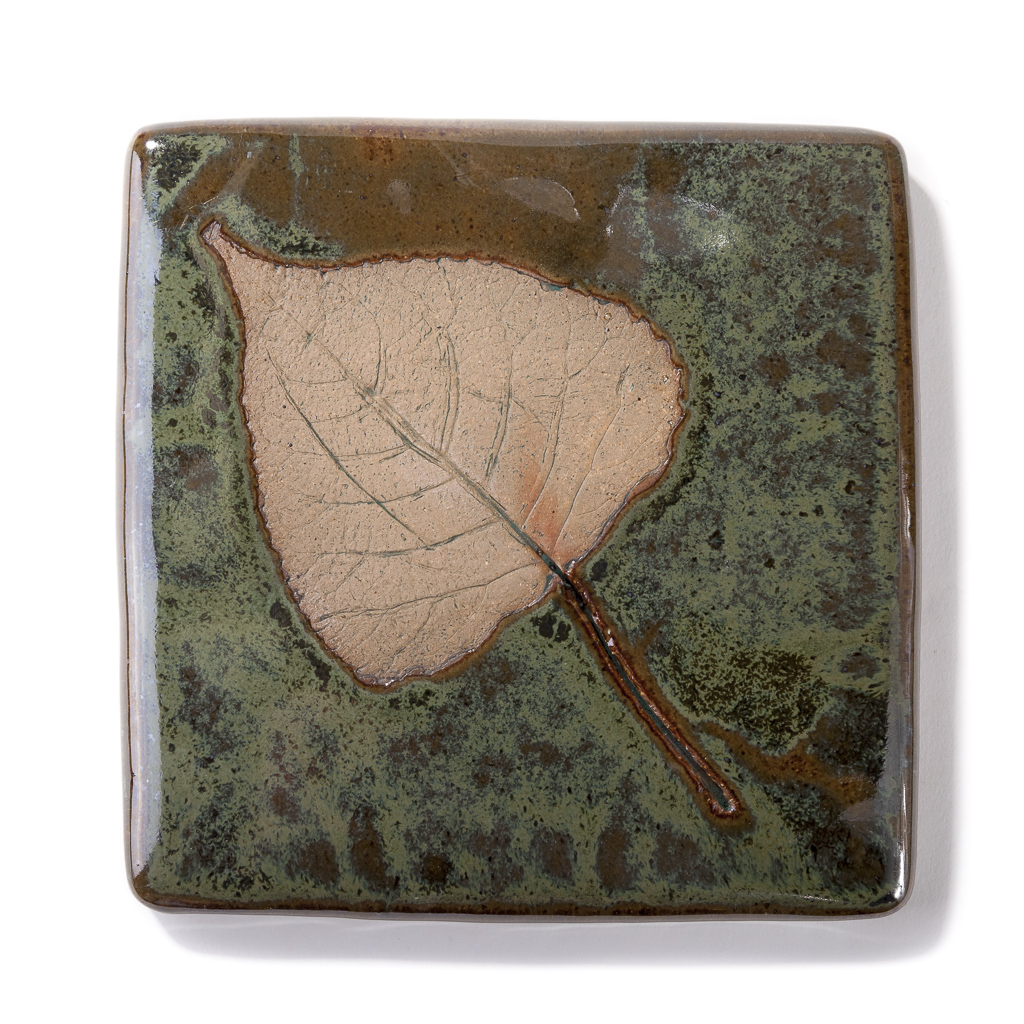
Six-inch Eastern Cottonwood
Tile/Trivet |
The difficulty was getting a good clean release from the tile cutter. All too often, the clay would stick on part of the device and release unevenly, warping the tile/trivet in the process. Since I hadn't learned about using scrap drywall to dry my flat pieces more evenly (even stacking dry wall with more tiles or other work on top, in a tower of tiles and other pottery), the warping might not be corrected as the piece dried and was bisque and glaze fired; clay has memory and, sometimes, it can be pretty tenacious. I sold quite a few of those pieces - both individually and in sets with a spoon rest - but I was never completely happy with them. I finally stopped making them.
 |
Eight-inch Northern Catalpa
Tile/Trivet |
Fast forward a few years and my Hanging Bird Bowls have evolved into, among other things, Applied Leaf Bowls and, earlier this year, Applied Leaf Trays. (I'll be doing posts on those shortly.) On the advice of my mentor, I decided to put additional pieces to assemble a comprehensive series for serving use at the dining or buffet table. Reviving the Spoon Rests and Trivets seemed obvious.
 |
Eight-inch Common Witch-hazel
Tile/Trivet |
In the interim, I had taken a tile-making class with David McGee at Pewabic Pottery. (David is an excellent instructor as well as a uniquely talented artist in his own right. I would encourage anyone interested in learning about pottery in general or in tile making specifically to take at least one class with him.) I learned how to design master tiles as well as how to make molds of those masters in order to take a design into production.
 |
Eight-inch White Oak
Tile/Trivet |
The challenge with these sorts of leaf designs is that, if you were to make a mold of an embossed leaf tile, the design is so subtle and has so little relief that, in pounding out the tile, you get "echoes" of the leaf rather than a clear image, which doesn't make for a particularly satisfying design. So, I've made a blank master mold and place a leaf into the mold (in this case, vein side
up so it will be against the clay surface) each time I make a piece. The down side is that, for some leaves, you can only get one impression; the up side is that, even if you
can re-use the leaf, each piece is unique as recreating the exact placement is essentially impossible. I insert hanging divots in three places in the back of the Tile/Trivet so the leaf can hang either square (with the leaf's tip pointing to the upper right or the upper left) or as a diamond (with the leaf tip pointing upward).
Once dried, cleaned up and bisque fired, the pieces are finished in my typical fashion, using a water-based stain on the leaf and drawing the excess off with a damp sponge to bring up the veins. Wax resist is applied to the leaf (I also use it on the backs of my tiles - it's just easier for me to do that rather than clean off glaze) and allowed to cure. I then glaze the piece, wiping the edges so they don't drip. I fire to Cone 6 with a 40-minute hold. The Tiles/Trivets are food safe and heatproof.